
And that began the research into Mirror Glaze - a shiny, almost reflective coating from the French style of pastry for typically small cakes called entremets.
I was a little daunted by doing a whole cake with smooth frosting so I asked "What about cake pops?" There is no evidence anywhere that this has been attempted before with a mirror glaze. Well, let's just explore the idea and find out, shall we?
Questions to answer:
Do cake pops need to be coated in chocolate first?
Will the glaze stick to them in raw or coated at all?
And, can I make mirror glaze to begin with at all?
I gathered supplies including cake, icing, white chocolate, gelatin, sticks, and gel colour.
Step 1: Bake a cake. I like to make my own but I cheated to facilitate speed and used a boxed cake.
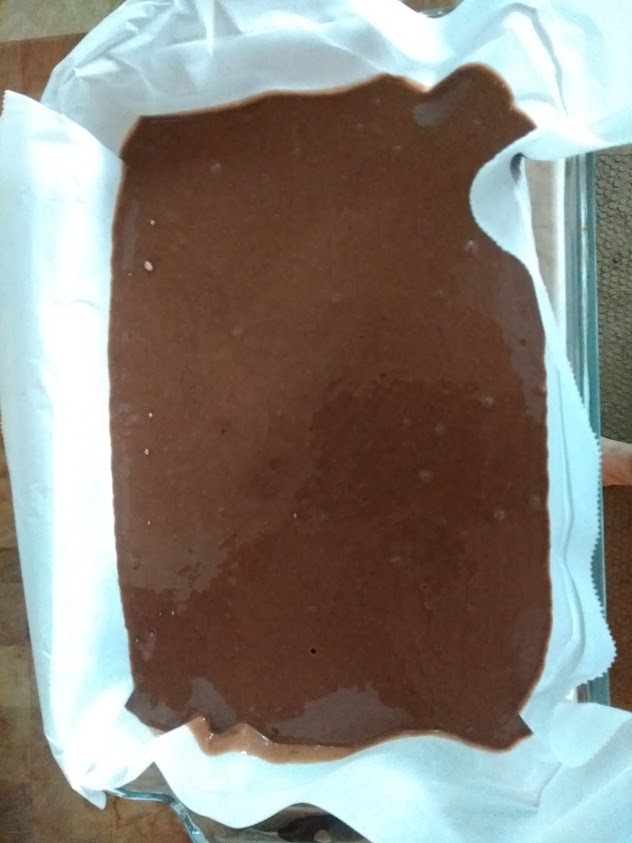 |
| Cake Ready to go into oven |
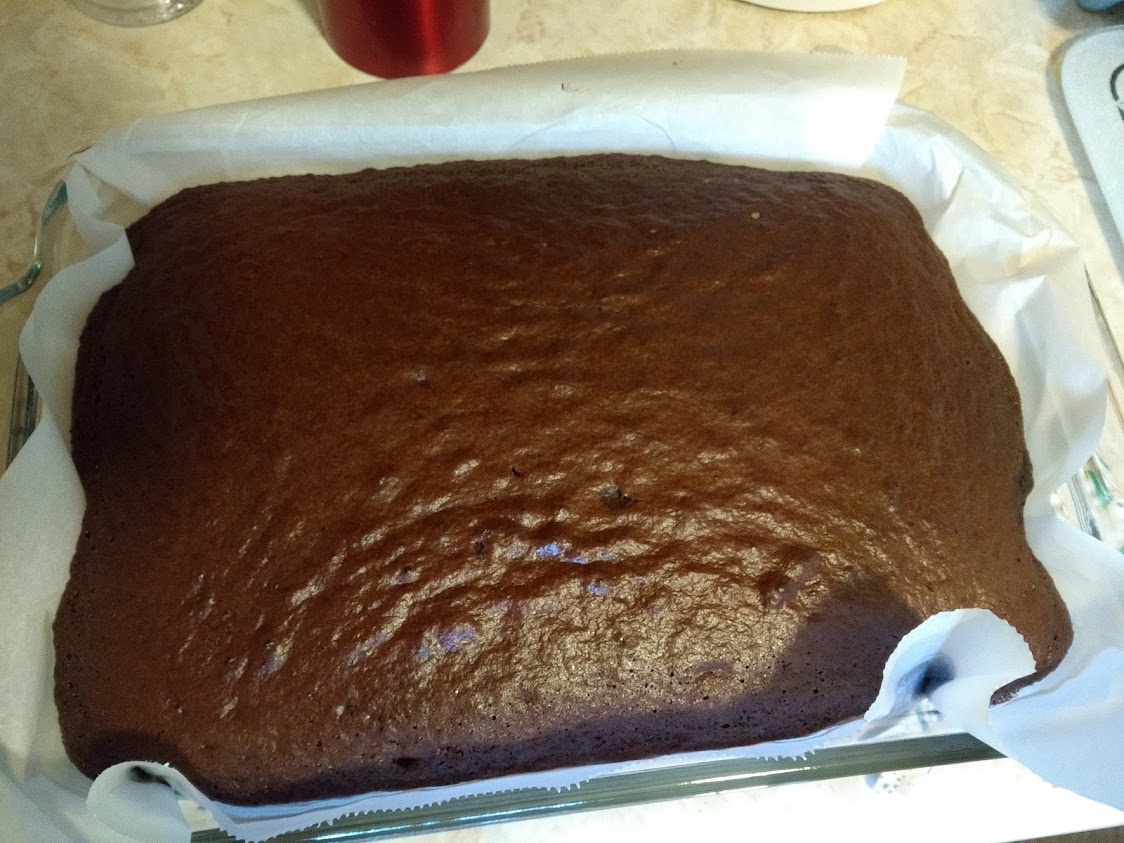 |
| Cake out of the oven |
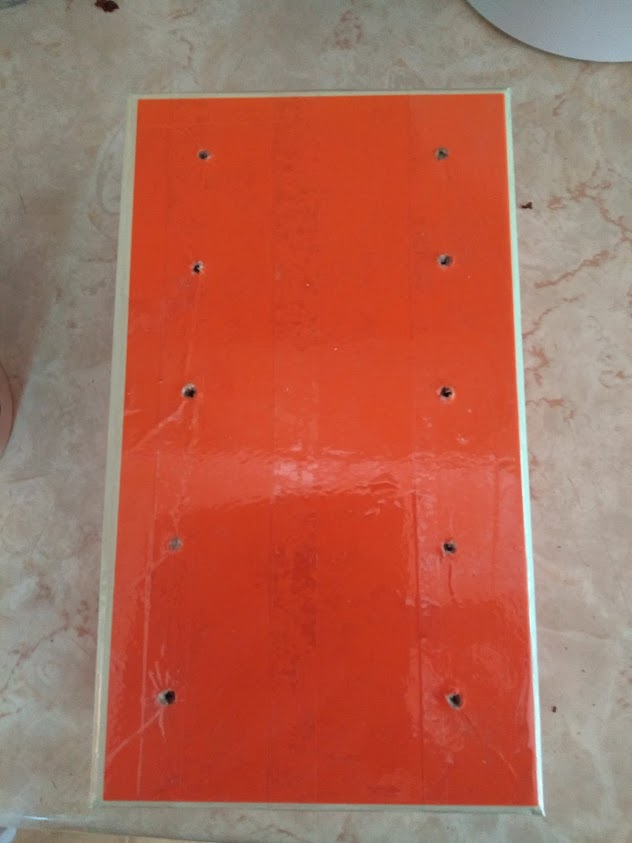
But there was a problem. If I was to coat some in chocolate they need to stand up to cool or you get a flat side - I wanted nice ball shapes. I do not own a cake pop stand, nor did I want to invest in one. So what does a Science teacher do? I made one! A box from the dollar store, a little packing tape and an awl. Ta-da - a cake pop stand.
Step 2: Make the cake pops. This requires half the cake and half a tub of icing. Again, I like my own icing but cheated and used store bought to speed things up.
 Put half the cake in a bowl and crumble up.
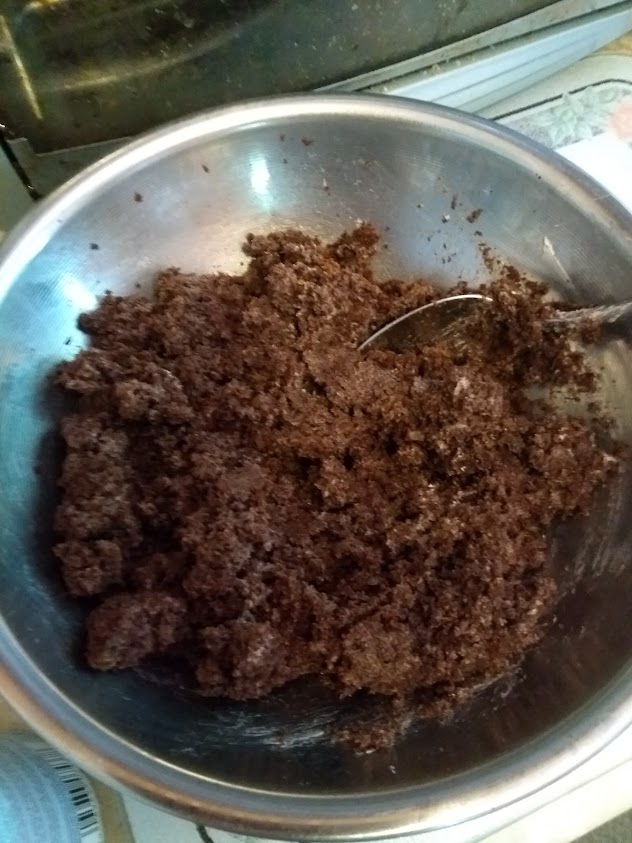 Mix in half a tub of icing (I used cream cheese but any will do) until mixed thoroughly. Many people prefer to do this with their hands - I am not one of those people. I like to use a big spoon.
 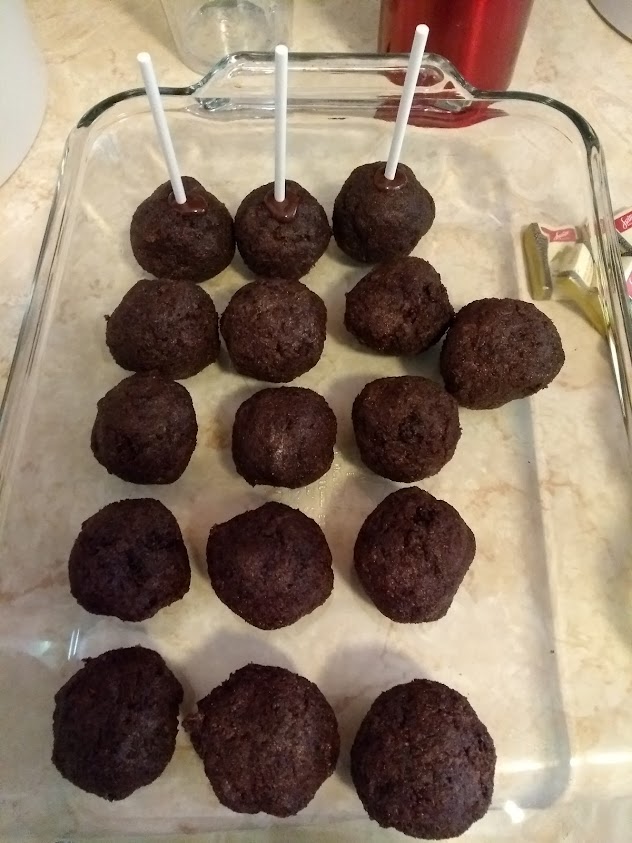 Roll into balls with your hands. Make sure they are firm enough. I found that I made mine too big, so about 2-3 cm diameter would be better. Mine were about 4-5 cm.
 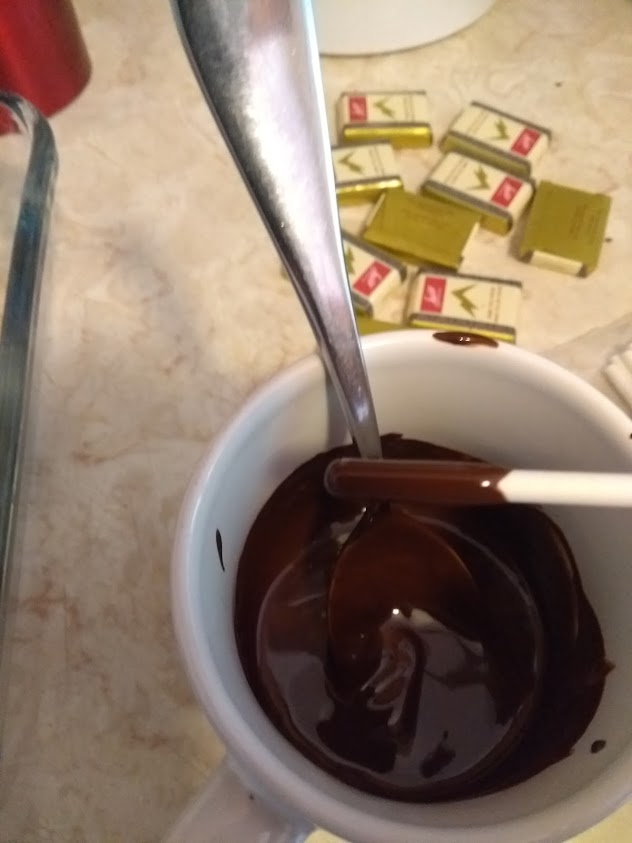 Now need to add sticks. This requires some melted chocolate. I used half dark and half semi-sweet which I melted in a mug in the microwave. Caution: It is easy to burn it so do small increments and stir. Dip the stick into the chocolate and push into the ball.
 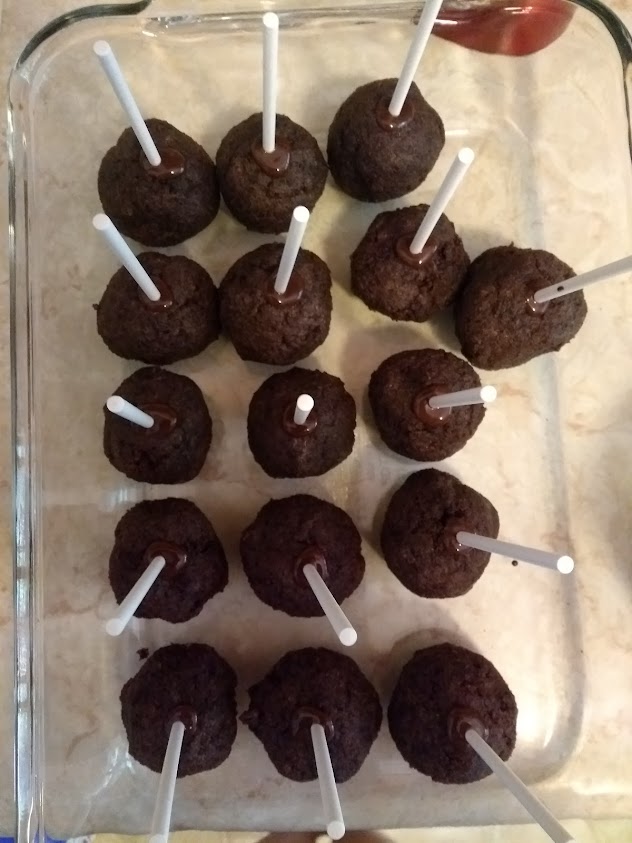 Once all of the balls have sticks, put into the fridge for 20 minutes or so until the chocolate is set, and the balls have firmed up a bit.
 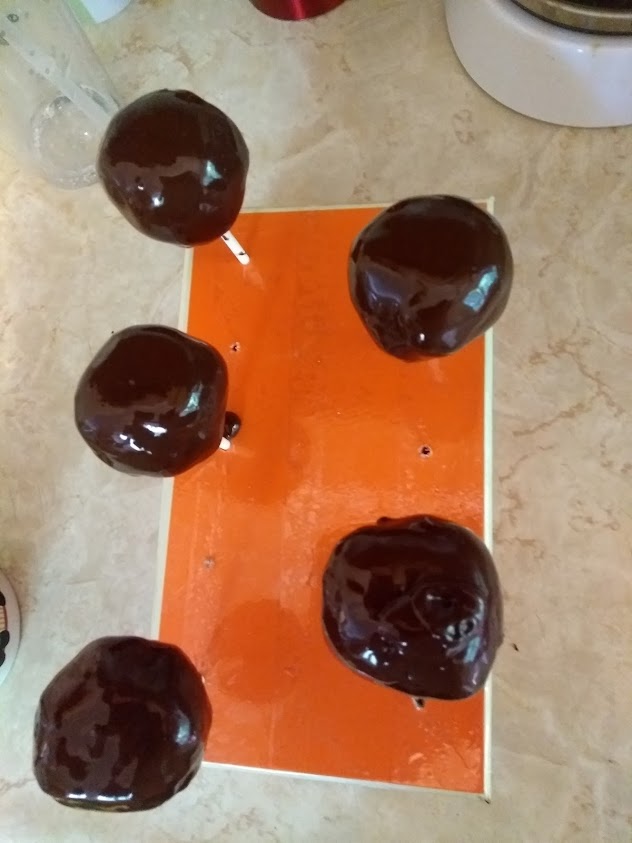 Using the chocolate in the mug, I coated half of my cake pops in chocolate. I discovered mine were too large, and thus too heavy to dunk (that little problem was eaten shortly thereafter 😃 ) so I had to spoon chocolate over and rotate to cover. Tap a few times to remove excess chocolate. You can use white chocolate too but I find it is more finicky. The wafers are also an option.
 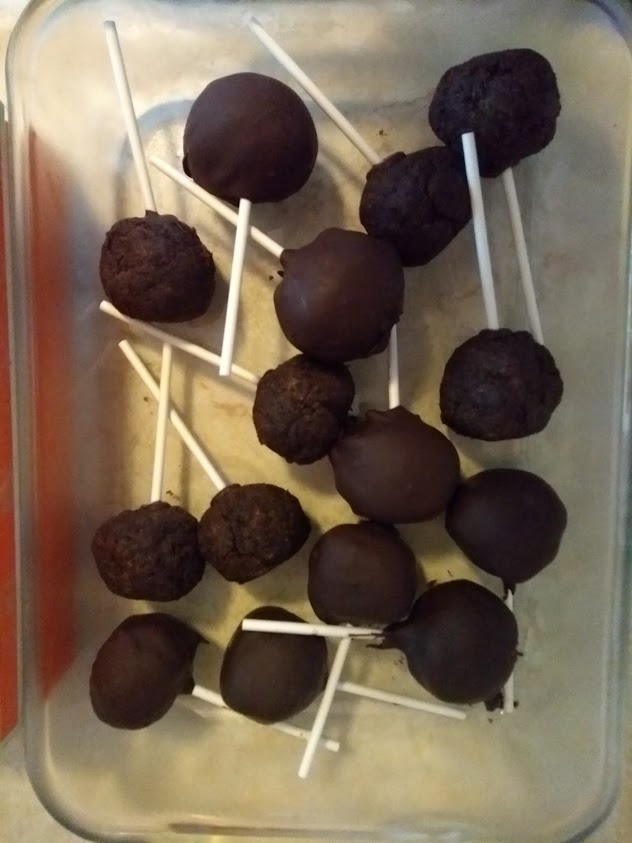 After the chocolate had set in the fridge, all of the cake pops went down into the freezer. They need to be frozen for the mirror glaze step.
Step 3: The mirror glaze was something I had never made before so even after watching a half dozen videos, I wasn't quite sure what would happen. It is actually not that complicated if you are prepared. It is kinda messy too.
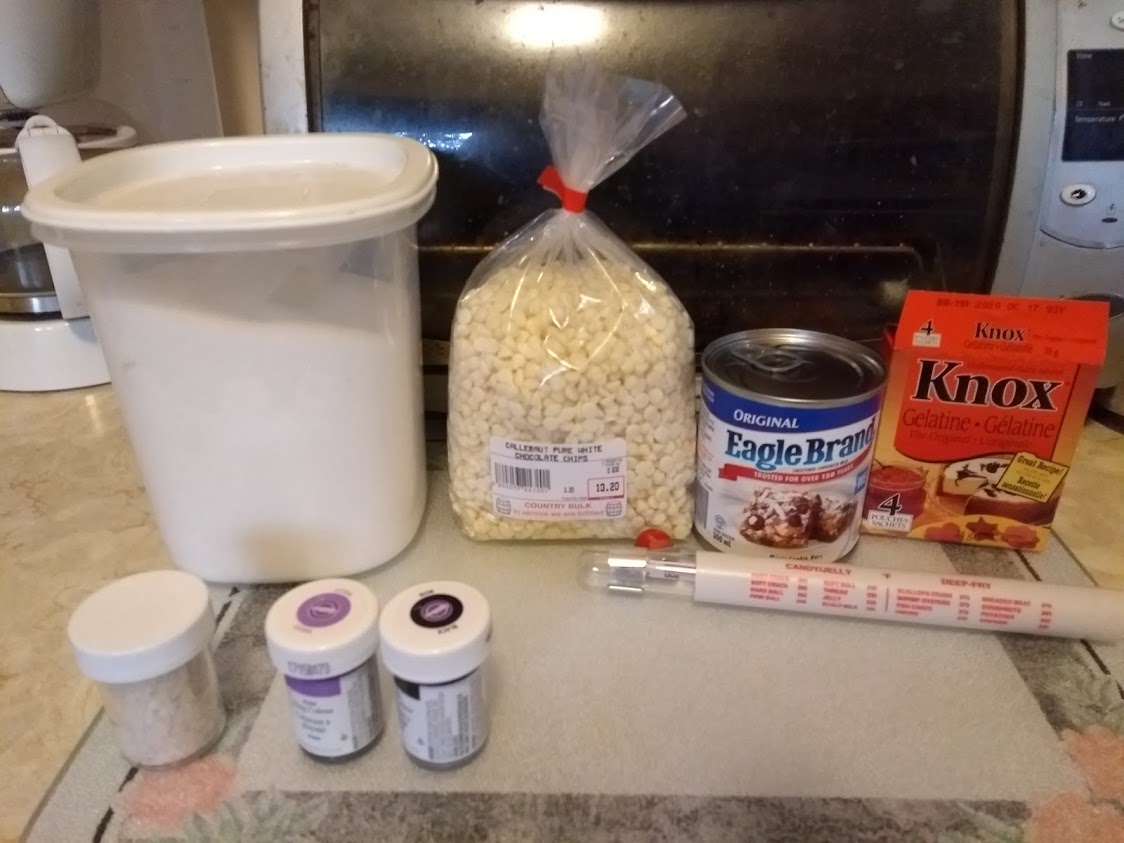 It is good to gather all the materials needed. Sugar, good white chocolate, gelatin, food colouring gel, sweetened condensed milk, and a candy thermometer. Also needed was some bowls, a pot, water and measuring cups.
 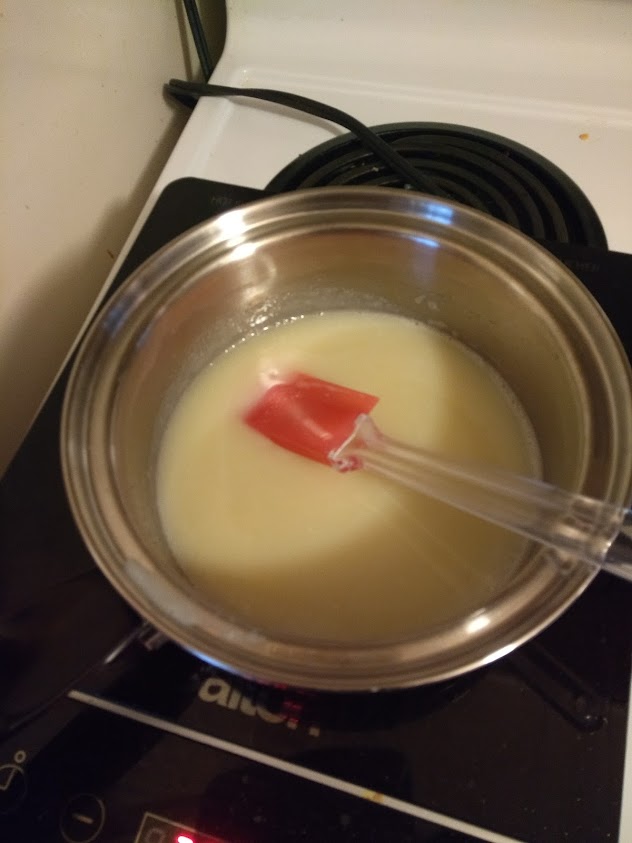 Water, sugar, sweetened condensed milk heating on stove
 Blooming the gelatin. (Mix gelatin powder with water).
You can see the sticky note in the background. Here is where knowing how to work with fractions is helpful. I only wanted a half recipe of glaze. So I had to half everything - writing it down helps make sure you don't put in the full amount (which was on the phone).
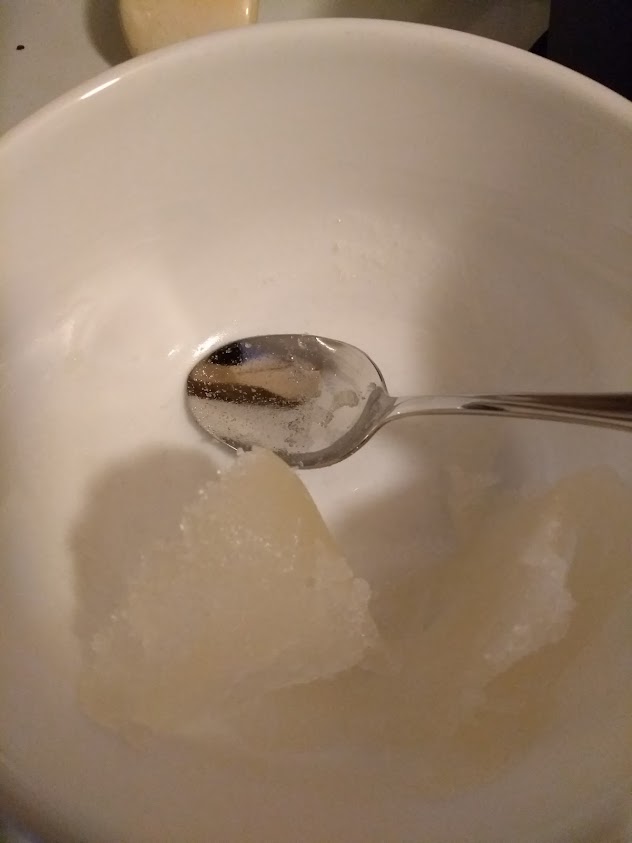 Once the sugar mixture starts to boil, need to add the bloomed gelatin. You can see it has firmed up. Stir it in until it dissolves.
 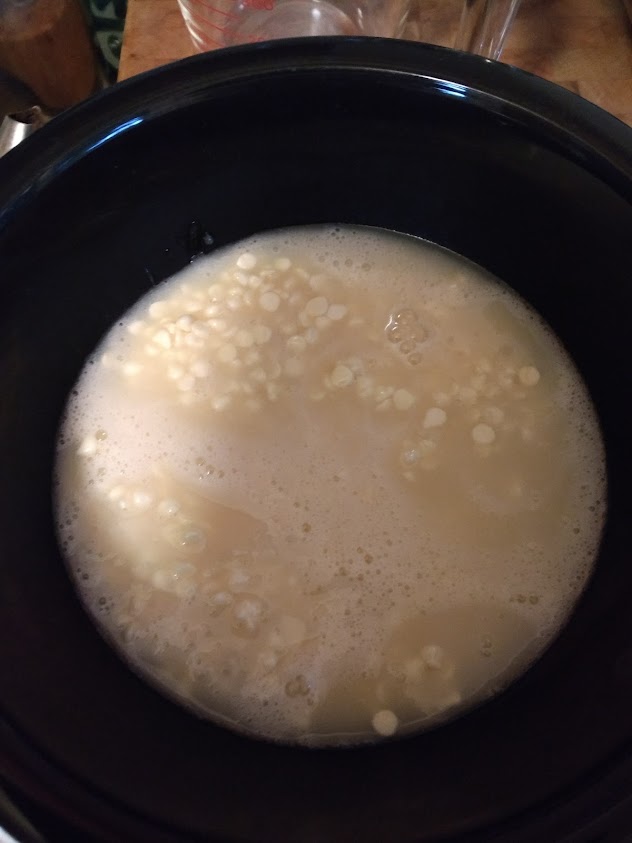 Pour that onto the white chocolate and let sit for 5 minutes. Then whisk until smooth. If you have fresh good chocolate, it will be smooth. If your chocolate is old or poor quality, it might have lumps in which case you need to run it through a sieve.
  Divide it up into however many colours you want to use, and mix in food colouring. I had black, purple and pink. The first two colours are gel based and good for the dark colours. I used regular food colouring - couple of drops of red - for the pink. I like the depth of the gel ones better.
  The glaze needs to be about 90 degrees Fahrenheit (37 C) and thus the candy thermometer is needed. If it cools too much it will be too thick but can be warmed up in the microwave for 10 s at a time.
Conclusion:
I can make a mirror glaze and it is not very difficult. Timing is important as the viscosity of the glaze changes rapidly. The raw or chocolate covered state of the pops does not affect the glaze. And yes, you can mirror glaze a cake pop.
What you cannot see is the mess. I had black and purple glaze drips all over the counter. Cleanup adds some time. All in all it was a fun exploration.

 See you in September...